There’s nothing wrong with using gravy packets, but I promise that making gravy from scratch is so much more rewarding! This recipe uses my Homemade Broth, flour, butter, and seasonings based on the flavor you want. I challenge you to try making your own gravy and see which you like better!
Gravy will take about 20-30 minutes to make, but depending on what you add, it could take a bit longer. Here are some of my go-to gravies:
- Brown Gravy: A simple brown gravy using beef broth.
- Light Brown Gravy: A simple light brown gravy using turkey or chicken broth.
- Smothered Gravy: A brown gravy with sautéed onions and bell peppers.
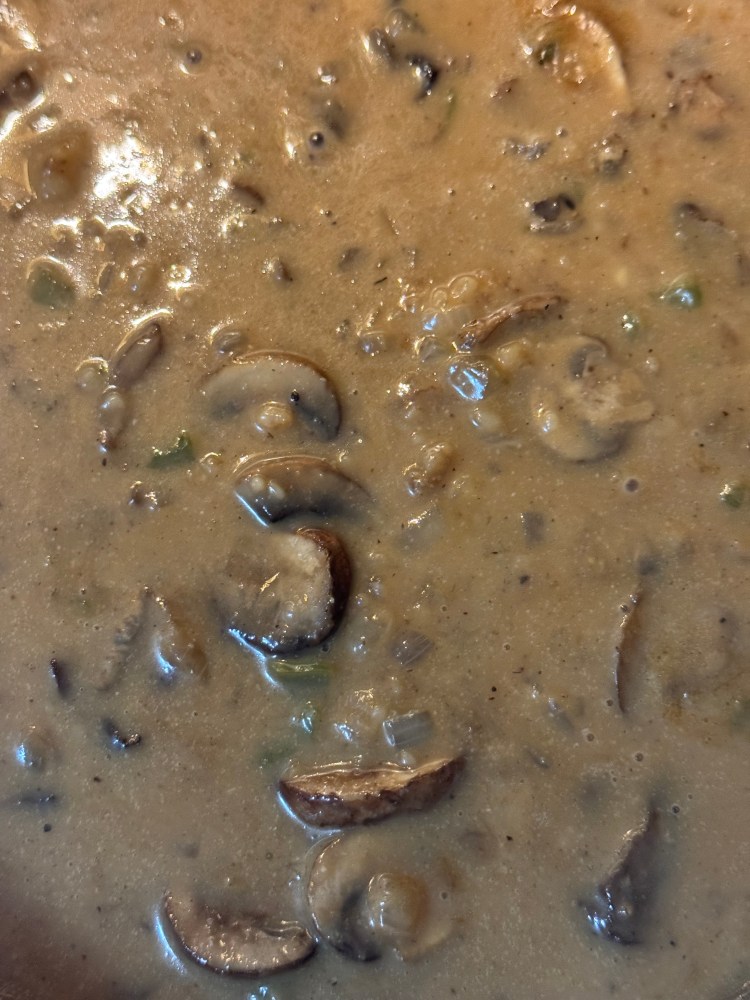
- Mushroom Gravy: A brown or light brown gravy with sautéed mushrooms.
- Onion Gravy: A brown or light brown gravy made with lots of sautéed onions.
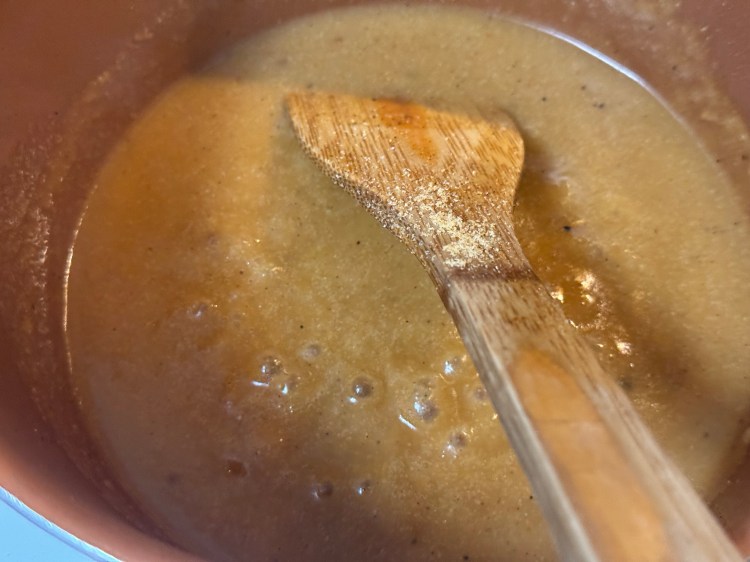
All of these gravies are delicious, and the best part is you can add whatever you like to make them your own! This recipe will focus on making the base for either Brown Gravy or Light Brown Gravy. Like most gravies and sauces, the seasonings are up to you—I like to add mine both to the flour and at the end to ensure the flavor is just right. As you can see in the picture above, I added extra garlic powder and it’s all over the spoon haha.
Be sure to comment below or tag us on social media if you’ve tried this recipe!
Recipe
Makes a large pot of gravy
Ingredients
- 3 cups of homemade broth* (any flavor)
- 1/2 cup heavy whipping cream
- 1/4 cup all-purpose flour
- 3 tbsp butter or margarine
- 2 cloves garlic, minced
- 1/2 onion, minced
- Seasonings: Garlic powder, onion powder, salt, and pepper
- *For chicken or turkey gravy I also use: Rotisserie chicken seasoning
- *For beef gravy I also use: Steak seasoning, Worcestershire sauce
Equipment
- Large nonstick pan or pot
- Silicone whisk (to avoid scratching your non-stick cookware)
- Wooden spoon
- Small bowl
Instructions
- Season the Flour: Season your flour with your choice of seasonings (garlic powder, onion powder, salt, pepper, rotisserie chicken seasoning*). The flour should have a light color from the seasonings—don’t be shy, but don’t overdo it either.
- Sauté the Onions and Garlic: Sauté your minced onions in the pan over medium heat until translucent. Then add your garlic and sauté until you smell the garlic. Remove from the pan and set aside in the small bowl.
- Make the Roux: On medium-high heat, melt the butter in the large pan/pot. Once melted, sprinkle the seasoned flour over the butter. Whisk the flour and butter together until you form a smooth paste (roux).
- Add Broth: Slowly add 1 cup of broth to the roux, adding 1/4 cup at a time, while whisking constantly to avoid lumps.
- Adjust Heat: Turn the heat down to medium-low. The gravy should be thick and smooth, not runny.
- Add Cream: Add the heavy whipping cream and whisk until smooth.
- Adjust Consistency: For your preferred consistency, add more broth—more for a thinner gravy, less for a thicker one.
- Taste and Season: Taste your gravy and adjust the seasoning. Add salt, pepper, or more seasonings as needed. The sautéed onions and garlic will enhance the flavor, but this is the time to fine-tune it.
- Add the Flavors: Stir in the sautéed onions, minced garlic, and any other add-ins like sautéed bell peppers, mushrooms, or extra onions. Let the gravy simmer on low heat for about 10 minutes to allow the flavors to meld.
- Final Use & Storage: After 10 minutes, your gravy is ready! If you have leftovers, allow the gravy to cool and store it in a wide-mouth mason jar or freezer bag for future use. It will keep in the fridge for 3-5 days in an airtight container or mason jar.
Note: Feel free to use any seasonings you prefer. You can substitute milk or half and half for the heavy cream, but keep in mind that heavy cream gives the gravy a smoother, more velvety texture. You do not have to use homemade broth but it is so much better and cheaper…
4 responses to “Gravy”
Discover more from
Subscribe to get the latest posts sent to your email.

Leave a reply to Stuffed Cornish Hens – TREAT$ Cancel reply