I’ll admit it – growing up, I hated chicken pot pie, especially the frozen ones. The vegetables and chicken were always bland, and the crust was always dry.
Then one day, my stepmom made a homemade chicken pot pie. I was skeptical, but one bite changed everything. The chicken was flavorful, the filling was rich and creamy, and the crust was soft and comforting. What really won me over was her biscuit-style topping (I fell in love instantly).
Fast forward to adulthood, I found myself craving chicken pot pie. This time, though, I wanted to try it with a traditional pie crust instead of a biscuit topping. That’s how this chicken pot pie recipe was born. And the best part? You can freeze these in mini loaf pans, making them perfect for an easy, comforting weeknight meal.
We encourage you to read the entire recipe before starting to ensure you’re using the proper equipment.
Be sure to comment below or tag us on social media if you’ve tried this recipe!
Recipe
This recipe makes about 8 mini chicken pot pies with leftover filling.
Ingredients
- 2 cups cooked chicken, shredded or diced (rotisserie white meat or cooked chicken breast)
- 1 cup frozen peas
- 1 cup diced carrots
- 1 cup diced celery
- 1 medium onion, diced
- 1 clove garlic, minced
- ½ cup heavy cream
- 5½ cups chicken broth (homemade or store-bought)
- Salt, to taste
- Pepper, to taste
- Cornstarch slurry: ¼ cup cornstarch + ¼ cup cold water
- 4 rolls Pillsbury* refrigerated pie crust
Recommended Equipment
- Mini aluminum loaf pans
- Large Pot
- Plastic gloves
- Small steak knife
Instructions
- Making the Chicken Pot Pie Filling:
- In a large pot over medium heat, sauté the carrots, celery, and onion until the onions become translucent and the vegetables begin to soften.
- Add the minced garlic and cook for about 30 seconds, just until fragrant.
- Pour in the chicken broth and bring to a boil. Reduce heat and simmer until the carrots and celery are tender.
- Stir together the cornstarch and cold water to make a slurry. Slowly pour it into the simmering broth while stirring constantly. Cook until the filling thickens.
- Stir in the heavy cream until fully incorporated.
- Season with salt and pepper to taste.
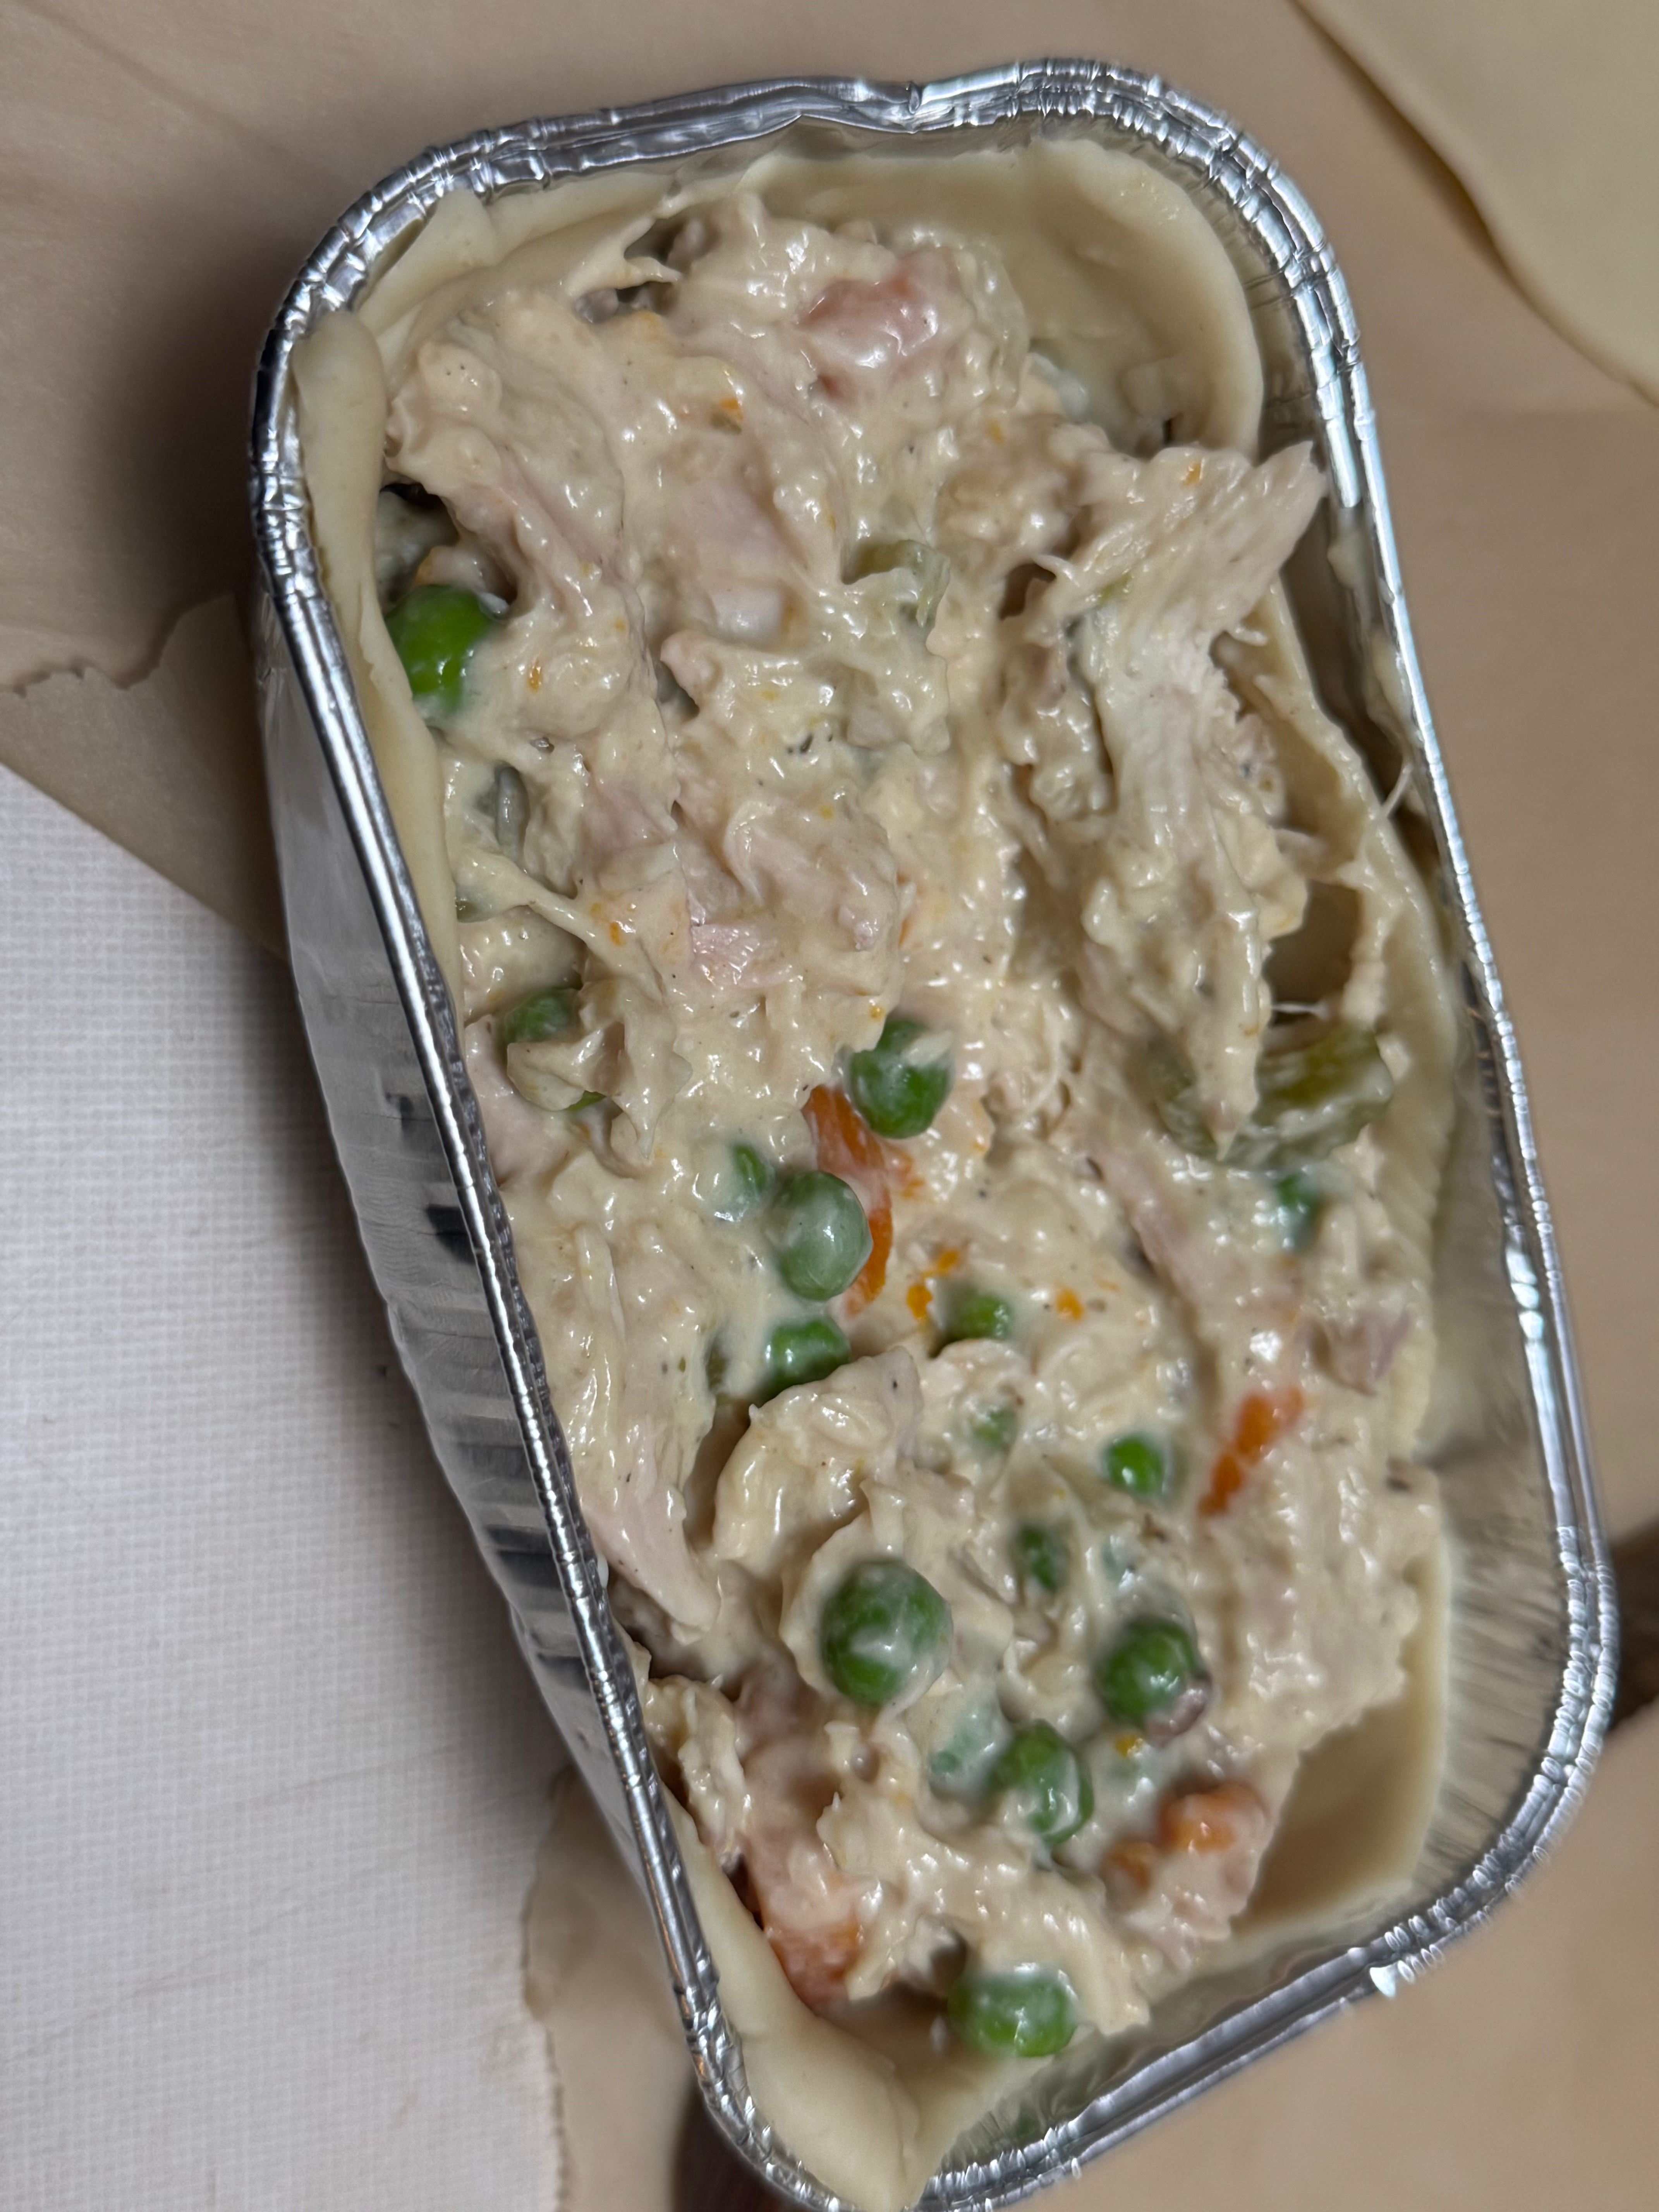
- Add the chicken and frozen peas, stirring until evenly combined. Remove from heat.
- Allow the filling to cool completely before assembling the pot pies.
- Assembling the Mini Pot Pies:
- Roll out the pie crusts. Typically, one pie crust per mini loaf pan works, with some crust leftover.
- Use an empty mini loaf pan as a stencil to cut the bottom crust, cutting slightly larger so it comes up the sides.
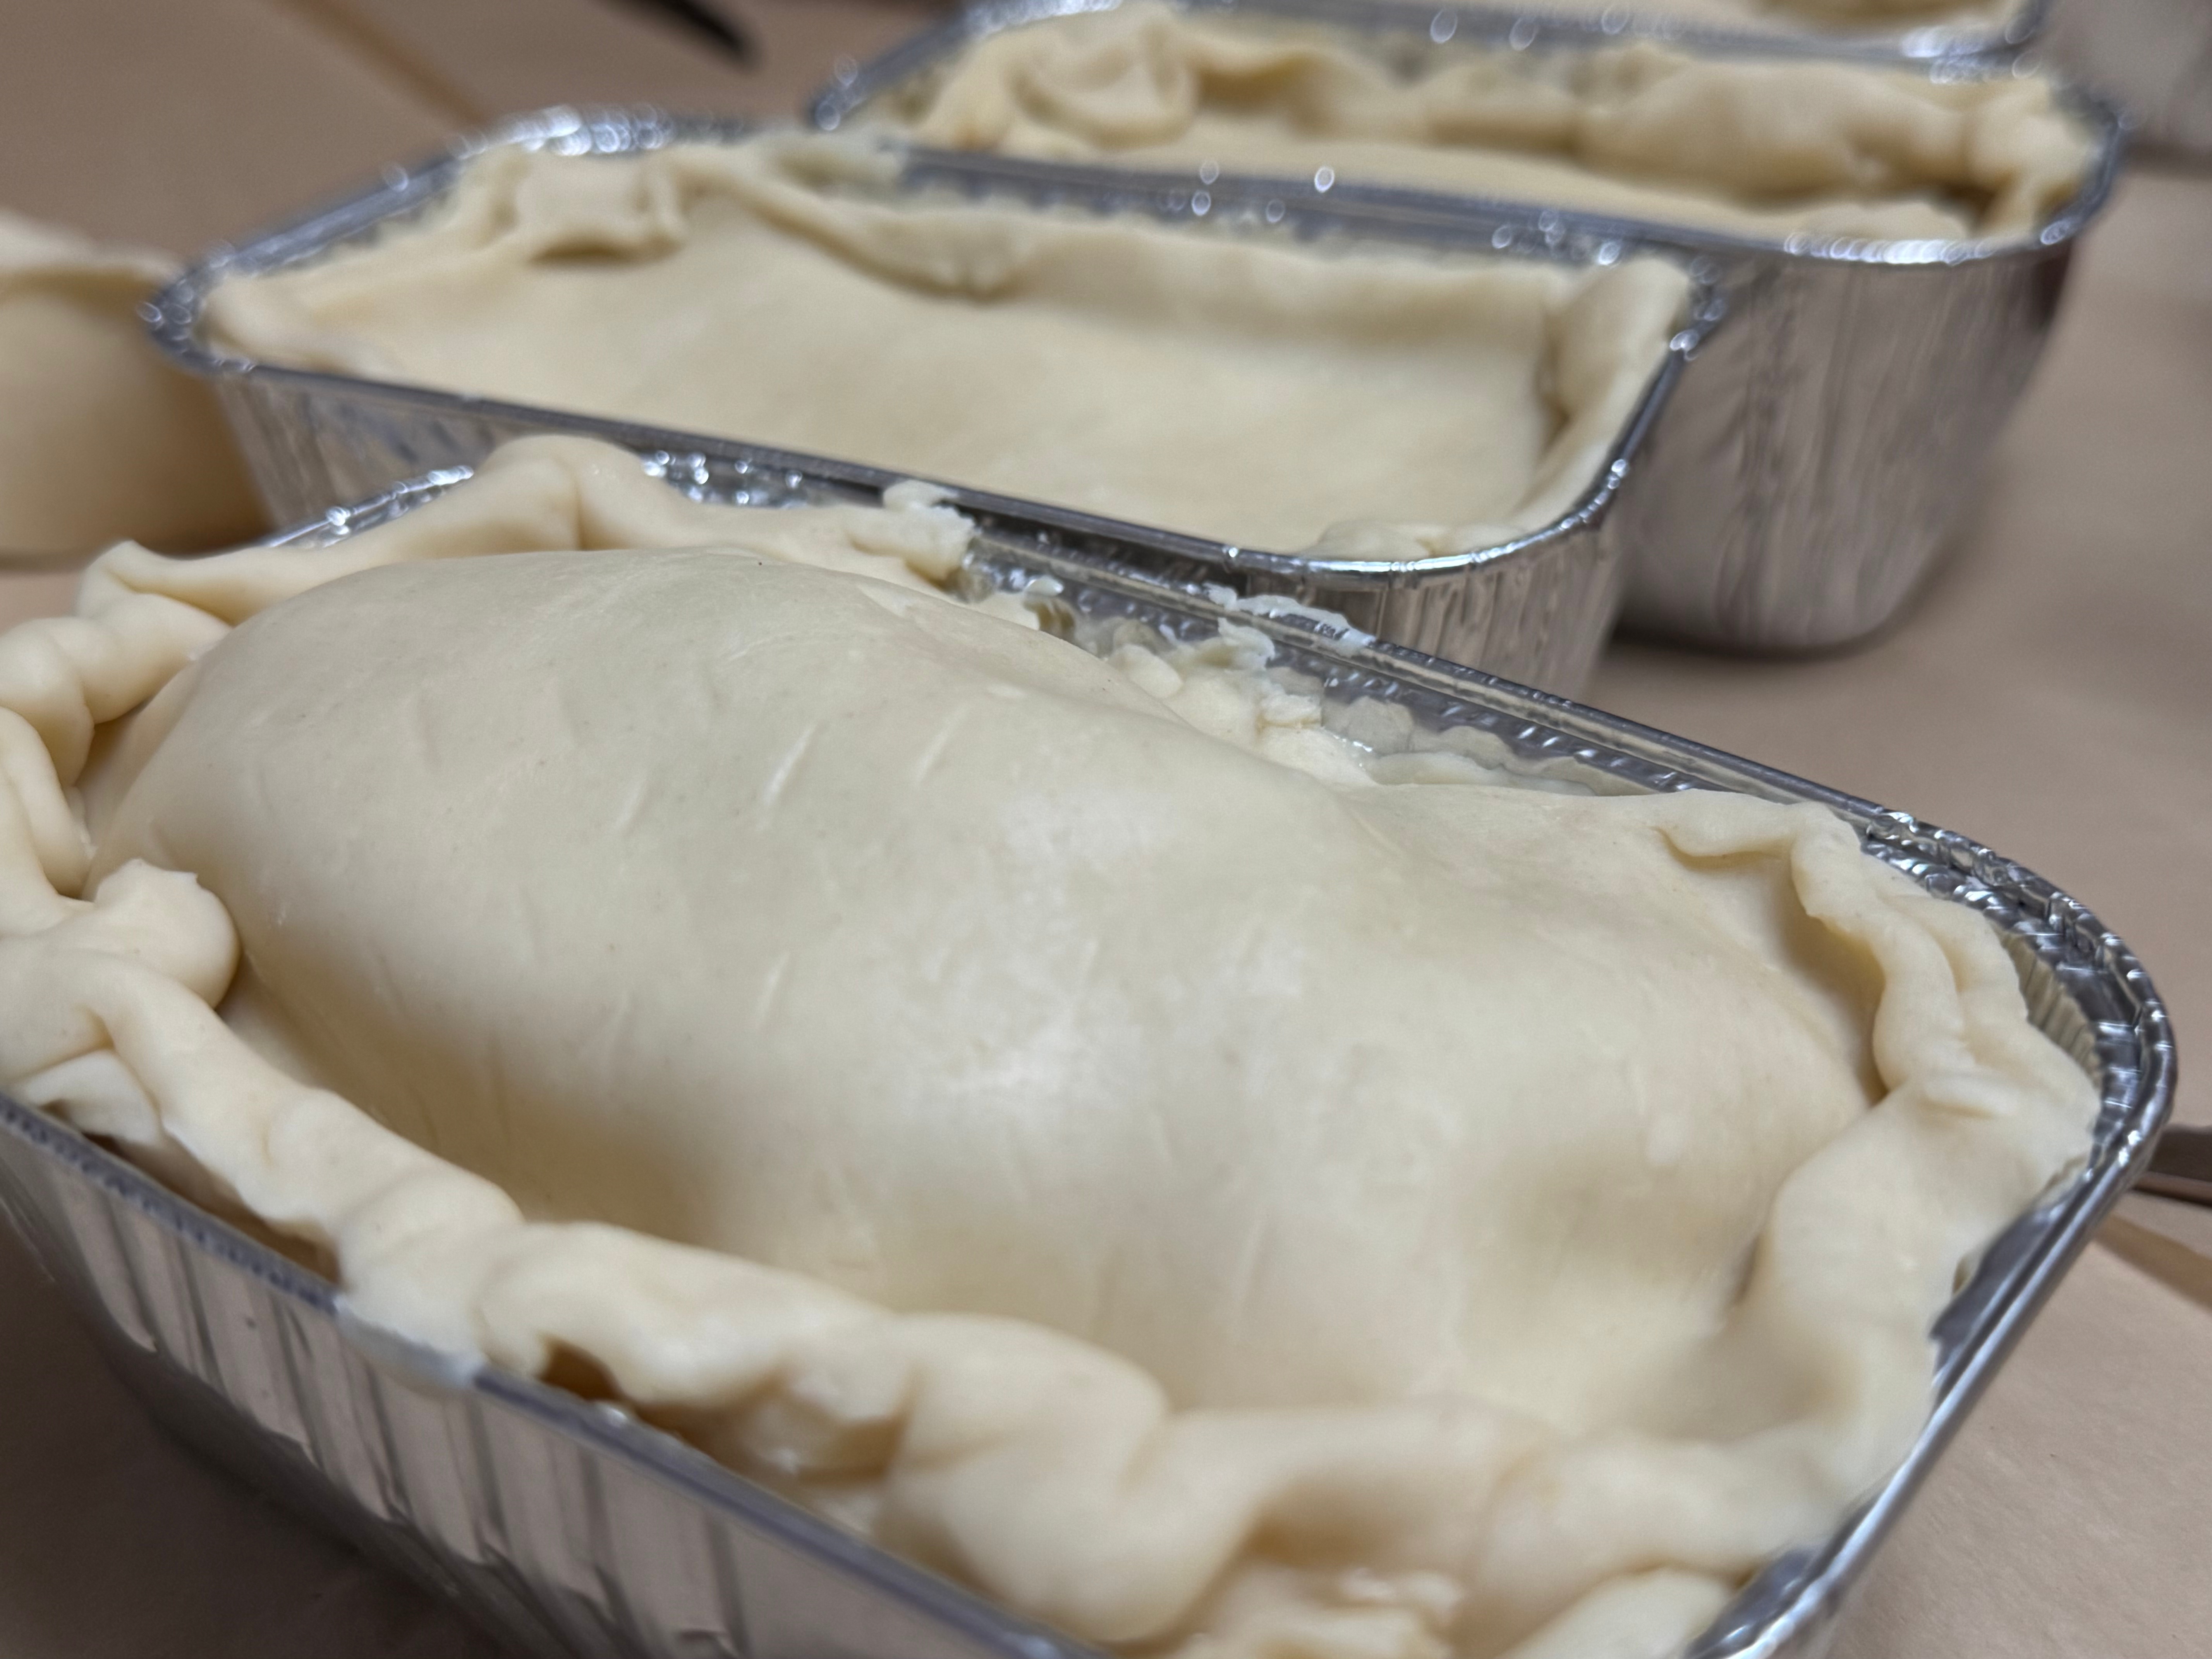
- Press the crust into the pan and fill with cooled chicken pot pie filling.
- Cut a top crust, place it over the filling, and pinch edges to seal.
- Cover tightly with aluminum foil. Label with the name and date, then freeze.
- Baking from Frozen:
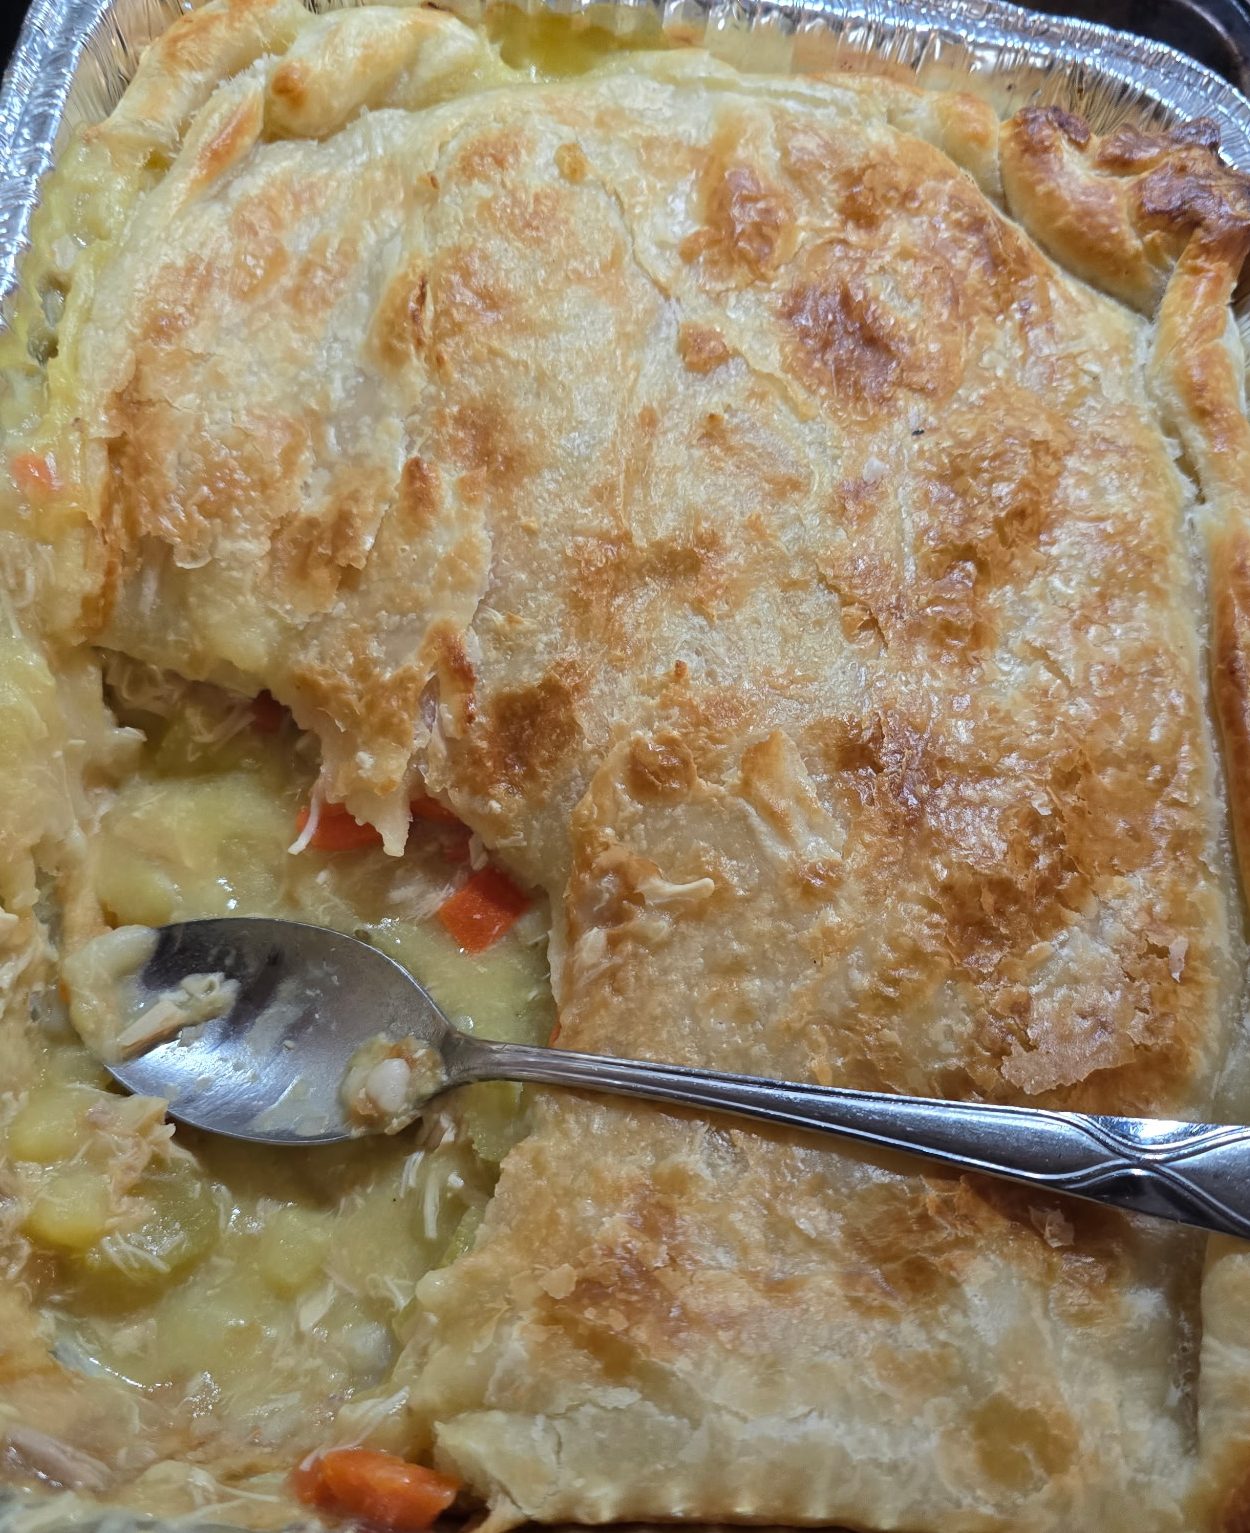
- Preheat oven to 350°F.
- Place frozen pot pies on a baking sheet.
- Bake covered for 30 minutes, then uncover and bake for 30–45 minutes, or until heated through and the crust is golden.
- Let rest for a few minutes before serving.
Notes: Feel free to customize the vegetables, seasonings, or broth to your taste. Homemade pie crust works great, but we prefer Pillsbury for meal prep because it holds up well and bakes consistently. Want a filling that’s more loose? Add more chicken broth! Leftover filling can be frozen and used later for another batch of chicken pot pies, served over biscuits or rice, or made into creamy chicken noodle soup!
One response to “Chicken Pot Pie”
-

[…] fiancé was never a fan of pot pie either until he tried our Chicken Pot Pie. Now it’s his go-to quick meal during our busy workweeks. To add a little variety to our freezer […]
LikeLike
Discover more from
Subscribe to get the latest posts sent to your email.

Leave a comment